Purpose
This guide shows you how to create a new initrd.img with integration for the VMXNET3 driver to allow guest RHEL virtual machines equipped with the VMXNET 3 driver to Kickstart build RHEL using PXEBOOT.
Background
VMware’s VMXNET 3 network adapter supports PXE booting but RHEL 5 does not have a driver that supports network installations using the default initrd.img.
If you tried to perform automated installation using kickstart with the standard initrd.img you will see the following screen:

This is because Anaconda does not recognise the VMXNET 3 device and therefore is not able to load a driver for it.
This guide shows you how to create a new initrd.img with integration for the VMXNET3 driver.
For the impatient few, I’ve made the resulting initrd.img.vmxnet file available for download, it is a clean ramdisk image that was made using the steps below.
It is the PXEBOOT RAMDISK with the VMXNET3 driver for RHEL5 (created from the rhel-server-5.5-x86_64-dvd) [2.6.18-194.el5].
Tested and working to support VMXNET3 in Anaconda. You can download it from here initrd.img.vmxnet and then jump all the way to Step 18 to place it on your Build Server.
Prerequisites
Prepare a Reference Virtual Machine
First create a new reference virtual machine with the following hardware specifications:
| Configuration | Value |
| VM Hardware Version | Hardware Version 7 |
| Network Adapter | VMXNET 3 |
| SCSI Controller | LSI Logic SAS |
| SYSTEM .vmdk Device | SCSI 0:0 15Gb |
| Remove Floppy Device | Yes |
Install RHEL (rhel-server-5.5-x86_64-dvd) by mounting the ISO to the VM and then perform a manual installation of VMware Tools. This will give you the reference virtual machine with which you will then use to copy the vmxnet.ko and vmxnet3.ko from.
Enable sshd services on the Reference VM by typing:
/etc/init.d/sshd start
This will make it a lot easier to copy files to your Build Server.
Prepare your Build Server
Create your own PXEBOOT and Kickstart installation or use one that you already have. For my example I will be using the Ultimate Deployment Appliance 2.0 (uda20.build17).
Most of the configuration is done on Build Server so by all means enable SSHD to make things a lot easier for you.
My Build Server IP is 192.168.200.30.
Integrating VMXNET 3 into initrd.img
At this point you should have SSH access to both your Build Server and your Reference VM.
Perform the following on the Build Server.
1. Make some working directories to work in
mkdir /tmp/workingdir
mkdir /tmp/workingdir/initrd
mkdir /tmp/workingdir/modules
Perform the following on the Reference VM.
2. Obtain the initial ramdisk initrd.img from the pxeboot directory, this file can be obtained from the rhel-server-5.5-x86_64-dvd ISO file which should still be connected to the Reference VM. The initrd.img file can be found in the images/pxeboot directory.
3. Mount the ISO image
mount /dev/cdrom /media
4. Copy the initrd.img to the Build Server
scp /media/images/pxeboot/initrd.img root@192.168.200.30:/tmp/workingdir/
5. We now need to ascertain the PCI and Device ID of the VMXNET 3 network adapter by first running
Lspci
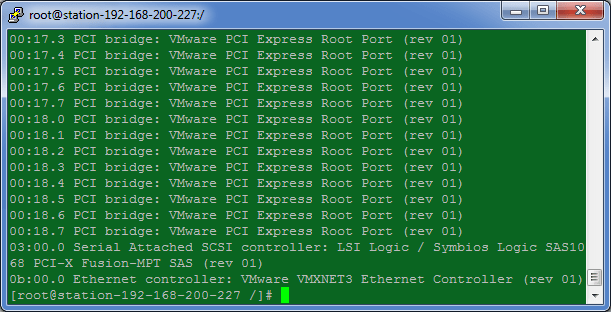
Note that our VMware VMXNET3 Ethernet Controller lives on 0b:00:0
6. With this information we can obtain the HEX number for the device by running
lspci –n
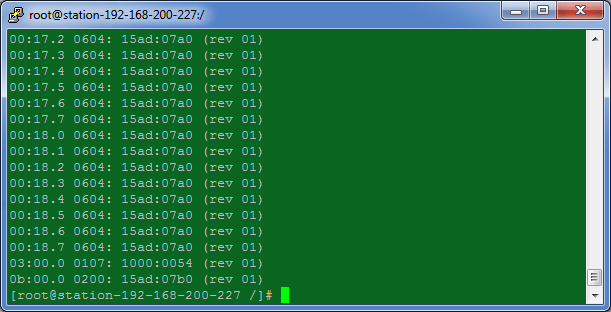
Note the HEX value for device 0b:00.0 is 15ad:07b0.
Perform the following on the Build Server.
7. Unpack the initrd.img file to allow us to amend the ramdisk, you should be in /tmp/workingdir/initrd/
zcat ../initrd.img | cpio –id
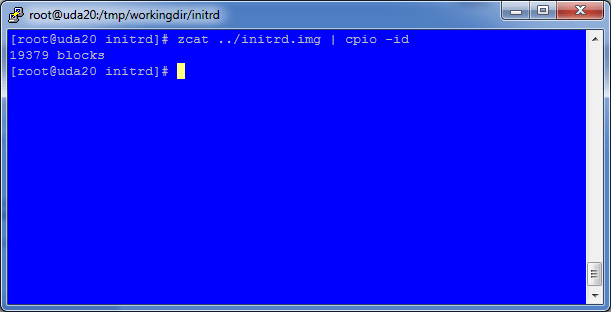
8. Extract the modules.cgz archive from within the initrd subdirectory
cd /tmp/workingdir/modules
zcat ../initrd/modules/modules.cgz | cpio –id

Perform the following on the Reference VM.
9. Copy the vmxnet*.ko modules from the Reference VM over to the Build Server. The vmxnet*.ko files are located in /lib/modules/2.6.18-194.el5/misc
scp /lib/modules/2.6.18-194.el5/misc/vmxnet*.ko root@192.168.200.30:/tmp/workingdir/modules/2.6.18-194.el5/x86_64/
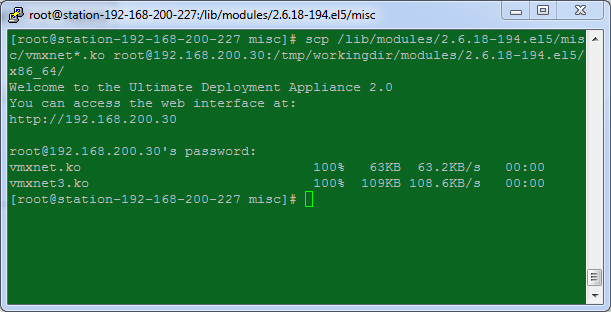
10. Copy the modules.alias file from the Reference VM to the Build Server for use later on. This file contains the vmxnet entries and is located at /lib/modules/2.6.18-194.el5/
scp /lib/modules/2.6.18-194.el5/modules.alias root@192.168.200.30:/tmp/workingdir/initrd/modules/modules.alias.reference

Perform the following on the Build Server.
11. Change permissions for the two new vmxnet*.ko files, you should be in /tmp/workingdir/modules/2.6.18-194.el5/x86_64/
chmod 744 vmxnet*
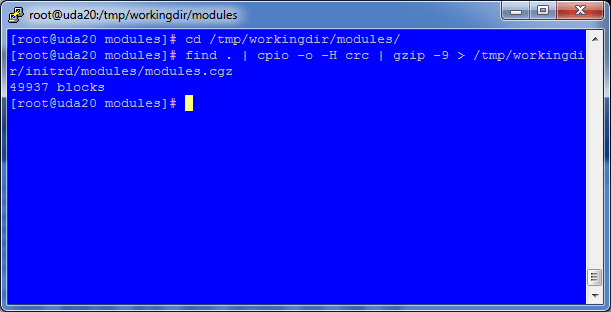
12. Pack up the new modules.cgz which now includes the vmxnet*.ko modules and create a new cpio archive to replace the old modules.cgz.
cd /tmp/workingdir/modules
find . | cpio -o -H crc | gzip -9 > /tmp/work/initrd/modules/modules.cgz
After a few seconds the operation will complete.
13. Modify the pci.ids file with an entry for the VMXNET 3 adapter.
cd /tmp/workingdir/initrd/modules
nano pci.ids
14. Search for VMware and add the following line under the Abstract SVGA Adapter
07b0 VMware Adapter
The 07b0 number here is whatever was obtained from Step 5 above.

15. Edit the module-info file and add the following entries for the VMXNET and VMXNET 3 Adapters, put it in under ‘v’ to keep it in alphabetical descending order. You should still be in /tmp/workingdir/initrd/modules/
nano /tmp/workingdir/initrd/modules/module-info
vmxnet
eth
“VMware vmxnet Ethernet driver”
vmxnet3
eth
“VMware vmxnet3 Ethernet driver”

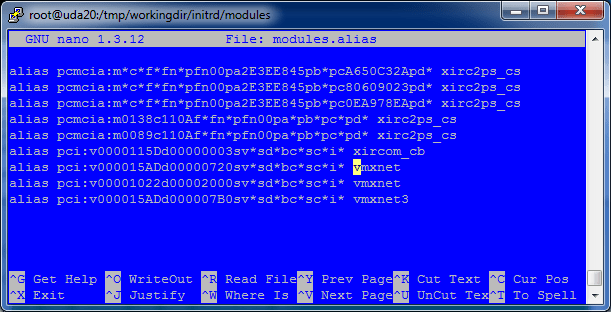
16. Import the vmxnet entries from the Reference VM’s module.alias file (now called module.alias.reference) into the Build Server’s module.alias file.
grep vmxnet /tmp/workingdir/initrd/modules/modules.alias.reference >> /tmp/workingdir/initrd/modules/modules.alias

The contents of the new module.alias file should look like this.
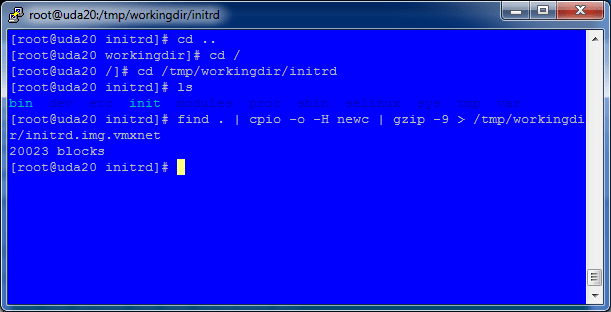
17. Package the new initrd.img ramdisk up with all the changes done above.
cd /tmp/workingdir/initrd
find . | cpio -o -H newc | gzip -9 > /tmp/workingdir/initrd.img.vmxnet
18. Copy the new initrd.img.vmxnet into the PXEBOOT environment. On UDA2.0 this location is /var/public/tftproot/
cp /tmp/workingdir/initrd.img.vmxnet /var/public/tftproot/
19. Edit your PXEBOOT configuration to use the new initrd.img.vmxnet file instead of the standard initrd.img file. My example uses the UDA.
cd /var/public/conf/templates/
nano rhel.dat
20. On the line CMDLINE=, edit the initrd= entry to point to the new initrd.img.vmxnet instead.
CMDLINE=ks=http://[UDA_IPADDR]/kickstart/[TEMPLATE]/[SUBTEMPLATE].cfg initrd=initrd.img.vmxnet ramdrive_size=8192
21. That’s it, now PXEBOOT a VM and it will now be able to Kickstart using the VMXNET3 network adapter.
Very helpful!
Thanks for this nice descripton ! Helped me a lot 🙂