When HCX is deployed there are three appliances that are deployed as part of the Service Mesh. These are detailed below.
| Appliance | Role | vCPU | Memory (GB) |
| IX | Interconnect appliance | 8 | 3 |
| NE | L2 network extension appliance | 8 | 3 |
| WO | WAN optimization appliance | 8 | 14 |
| Total | 24 | 20 |
As you can see, these three appliances require a lot of resources just for one Service Mesh. A Service Mesh is created on a 1:1 basis between source and destination. If you connected your on-premises environment to another destination, you would need another service mesh.
For example, if you had the following hybrid cloud requirements:
| Service Mesh | Source site | Destination site | vCPUs | Memory (GB) |
| 1 | On-premises | VCPP Provider | 24 | 20 |
| 2 | On-Premises | VMware Cloud on AWS | 24 | 20 |
| 3 | On-Premises | Another On-premises | 24 | 20 |
| Total | 72 | 60 |
As you can see, resource requirements will add up.
If you’re running testing or deploying these in a nested lab, the resource requirements may be too high for your infrastructure. This post shows you how you can edit the OVF appliances to be deployed with lower resource requirements.
Disclaimer: The following is unsupported by VMware. Reducing vCPU and memory on any of the HCX appliances will impact HCX services.
- Log into your HCX manager appliance with the admin account
- do a su – to gain root access, use the same password
- go into the /common/appliances directory
- here you’ll see folders for sp and vcc, these are the only two that you need to work in.
- first lets start with sp, sp stands for Silverpeak which is what is running the WAN optimization.
- go into the /common/appliances/sp/7.3.9.0 directory
- vi the file VX-0000-7.3.9.0_62228.ovf
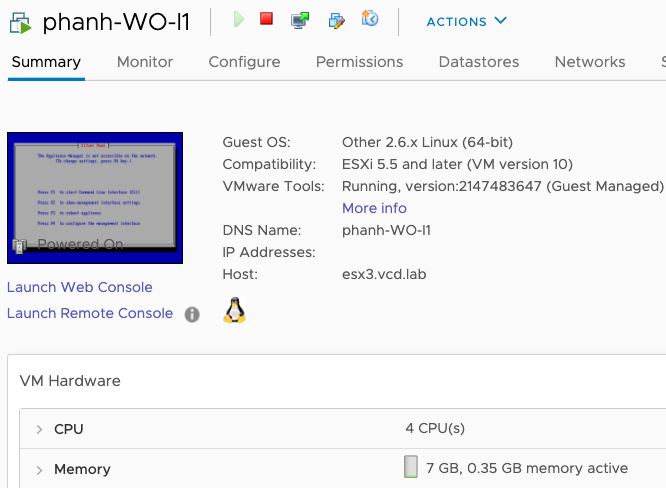
- go to the section where virtual cpus and memory is configured and change to the following. (I find that reducing to four vCPUs and 7GB RAM for the WO appliance is good).
       <Item>
         <rasd:AllocationUnits>hertz * 10^6</rasd:AllocationUnits>
         <rasd:Description>Number of Virtual CPUs</rasd:Description>
         <rasd:ElementName>4 virtual CPU(s)</rasd:ElementName>
         <rasd:InstanceID>1</rasd:InstanceID>
         <rasd:Reservation>1000</rasd:Reservation>
         <rasd:ResourceType>3</rasd:ResourceType>
         <rasd:VirtualQuantity>4</rasd:VirtualQuantity>
       </Item>
       <Item>
         <rasd:AllocationUnits>byte * 2^20</rasd:AllocationUnits>
         <rasd:Description>Memory Size</rasd:Description>
         <rasd:ElementName>7168MB of memory</rasd:ElementName>
         <rasd:InstanceID>2</rasd:InstanceID>
         <rasd:Reservation>2000</rasd:Reservation>
         <rasd:ResourceType>4</rasd:ResourceType>
         <rasd:VirtualQuantity>7168</rasd:VirtualQuantity>
       </Item>
Next configure the IX and L2E appliances, these are both contained in the vcc directory.
- go to the /common/appliances/vcc/3.5.0 directory
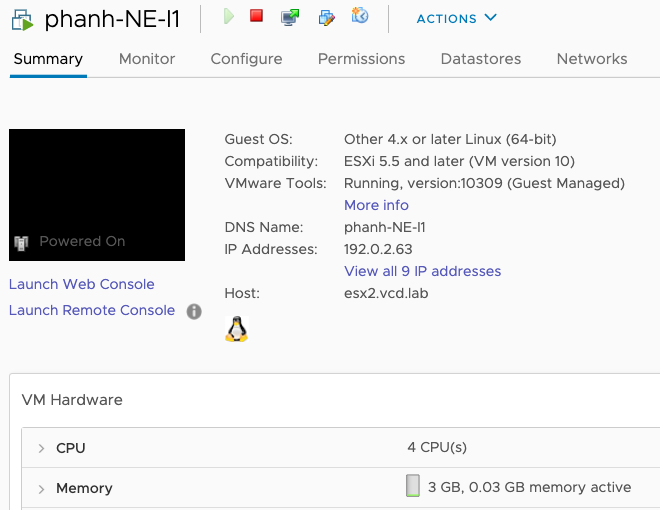
- vi the vcc-va-large-3.5.3-17093722.ovf file, again changing the vCPU to 4 and leaving RAM at 3 GB.
  <Item>
         <rasd:AllocationUnits>hertz * 10^6</rasd:AllocationUnits>
         <rasd:Description>Number of Virtual CPUs</rasd:Description>
         <rasd:ElementName>4 virtual CPU(s)</rasd:ElementName>
         <rasd:InstanceID>1</rasd:InstanceID>
         <rasd:ResourceType>3</rasd:ResourceType>
         <rasd:VirtualQuantity>4</rasd:VirtualQuantity>
       </Item>
Once you save your changes and create a Service Mesh, you will notice that the new appliances will be deployed with reduced virtual hardware requirements.
Hope this helps your testing with HCX!


Thanks for sharing.
Even is 2 years old, it is still a good tip. I always stop Appliances, change memory and CPU and then start again. With this is easier.