Purpose
This article explains how to use the Operating System Specific Packages (OSPs) to install VMware Tools during the PXEBOOT and Kickstart of a Linux guest OS running on vSphere 4.1 and above.
Background
As of vSphere 4.1, the VMware Tools RPMs are no longer available on the CD image linux.iso. To install you must use the tar.gz package and install it manually.
To quote the vSphere 4.0 U2 release notes:
“The VMware Tools RPM installer, which is available on the VMware Tools ISO image for Linux guest operating systems, has been deprecated and will be removed in a future ESX release. VMware recommends using the tar.gz installer to install VMware Tools on virtual machines with Linux guest operating systems.”
This future ESX release is indeed vSphere 4.1. The reason that the RPM packages are no longer available on the VMware Tools CD image for Linux guest operating systems ISO is to reduce the footprint of ESXi. Therefore the linux.iso no longer contains the RPM installer.
Not only is this a real pain for customers who have always deployed packages onto their Linux guests with RPMs but also removing the VMware Tools RPM also causes issues with the deployment of Linux guests through PXEBOOT and Kickstart methods.
Yes, you could argue that there is the option of using vCenter Templates along with Customization Specifications (CS) for Linux, and I for one love the fact that the CS works for Linux very well. This is not always an option for a customer who has already configured their entire environment to deploy both ESXi servers and virtual machine guests with PXEBOOT and Kickstart.
The only option here is to perform manual installations of VMware Tools using the tar.gz file which is included with vSphere 4.1. This of course poses a few issues.
One: this is a repetitive task which is both time consuming and problematic if the number of new VMs to provision is high.
Two: some security conscious organisations do not allow the gcc Compiler and/or the Linux Kernel sources to be installed on the VM guests. Both the gcc Compiler and the Linux Kernel sources are mandatory for the successful installation of VMware Tools using the tar.gz file.
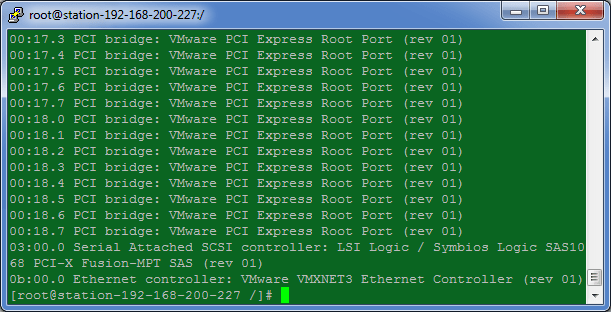
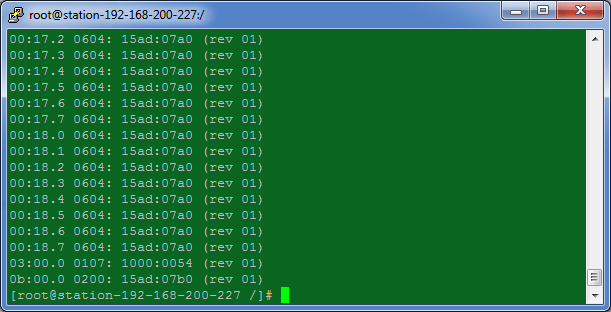
Three: if the guest VM is using a VMXNET2 or VMXNET3 ethernet adapter, then the guest VM will not have compatible drivers if VMware Tools is not installed.
These are just three of the reasons that I’ve seen in the wild, there are more but I won’t go into much detail here.
So how do we go about solving this?
Have a read of KB article 1024047: ESXi 4.x does not include RPM format for VMware Tools.
The solution here is to use the Operating System Specific Packages (OSPs). VMware Tools OSPs allow you to use your operating system’s native update mechanisms to automatically download, install, and manage VMware Tools for the supported operating systems. For more information regarding OSPs, see http://www.vmware.com/download/packages.html.
For this guide, we are referring to RHEL’s yum update mechanism.
This guide details how you can use the http://www.vmware.com/pdf/osp_install_guide.pdf to prepare your Build Server to enable the automated deployment of VMware Tools during a guest RHEL in a PXEBOOT environment.
Resolution
For this guide, I will be using the Ultimate Deployment Appliance 2.0 (uda20.build17) to deploy a RHEL 5.5 x64 virtual machine.
First we need to prepare to install the operating specific packages (OSPs) for RHEL 5 guest operating systems on the Build Server. We do this by preparing the directory structure for the rpms, and placing these in the correct location on the Build Server for the guest VM to download during a Kickstart installation.
Perform the following on your workstation.
The OSPs are located on the VMware Tools packages Web site at http://packages.vmware.com/tools.
-
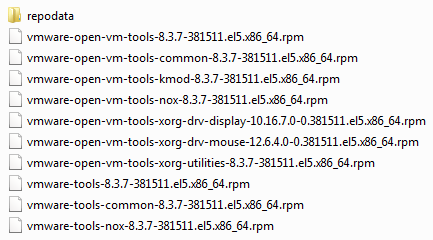
First download the entire directory that contains the package relevant to your operating system, for this guide I will be using the RHEL x86_64 packages located at http://packages.vmware.com/tools/esx/4.1u1/rhel5/x86_64/index.html.
-
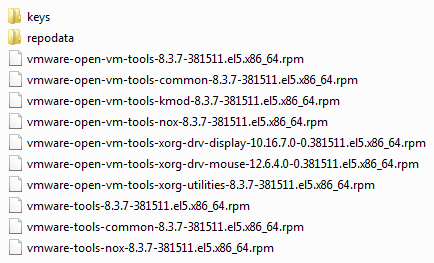
Clicking on this link will give you the following list of files.

-
Do a right-click Save-As and save these files to a location of your choice. I settled for a folder called vmwaretools on my Desktop.
-
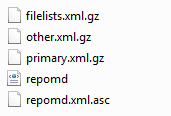
Also create a folder within vmwaretools called repodata, and also download the files from http://packages.vmware.com/tools/esx/4.1u1/rhel5/x86_64/repodata into your vmwaretools/repodata directory.
-
Once these two tasks have been complete you will see the following directory contents of vmwaretools.
-
And the contents of vmwaretools/repodata.
-
Now you will need to download the VMware Packaging Public Keys.
-
Create a directory called keys within vmwaretools/
-
Point your web browser to http://packages.vmware.com/tools/keys and download all of the files into your vmwaretools/keys directory.
-
The contents of the keys directory should look like this

-
You should now have a vmwaretools folder structure that looks like this
-
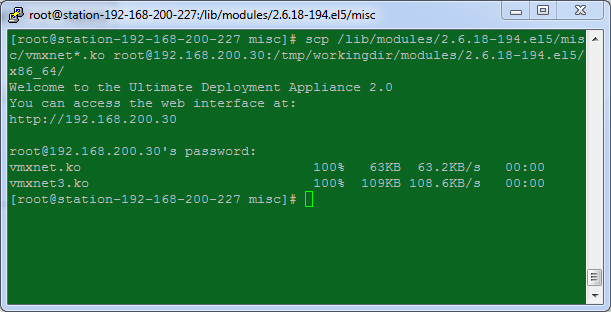
Now copy the entire vmwaretools directory to your Build Server using your favourite SCP application. I’m using the UDA 2.0, so I will be placing vmwaretools in /var/public/www/kickstart/rhel/. “rhel” is the ‘Flavor’ name that I called my RHEL 5 OS configuration.

Perform the following on the Build Server.
-
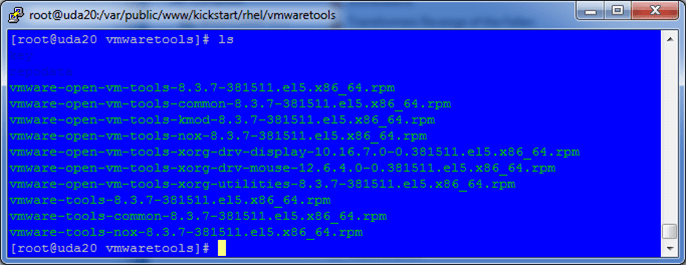
On the UDA 2.0 the contents of the /var/public/www/kickstart/rhel/vmwaretools directory should now look like this.
-
If you navigated to http://<ip_address_of_uda/kickstart/rhel/vmwaretools/, you should be able to see the same folder structure. If you can’t then you may need to do a chmod 755 on the vmwaretools directory and its contents.
-
Now edit your kickstart file to look something like this.
%post
# Import the VMware Packaging Public Keys from the Build Server.
rpm –import http://%5BUDA_IPADDR%5D/kickstart/%5BTEMPLATE%5D/vmwaretools/key/VMWARE-PACKAGING-GPG-DSA-KEY.pub
rpm –import http://%5BUDA_IPADDR%5D/kickstart/%5BTEMPLATE%5D/vmwaretools/key/VMWARE-PACKAGING-GPG-RSA-KEY.pub
# Create and edit the VMware repository directory and file, note that this points to the Build Server during Kickstart build. Once VMware Tools is installed we shall change the baseurl to point to the VMware OSP URL.
# Add the following contents to the repository file and save
cat > /etc/yum.repos.d/vmware-tools.repo <<\EOF1
[vmware-tools]
name=VMware Tools
baseurl=http://192.168.200.30/kickstart/rhel/vmwaretools
enabled=1
gpgcheck=1
EOF1
# Install VMware Tools by accepting all defaults
yum install -y vmware-tools
# Delete the customised vmware-tools.repo file and reconfigure with the baseurl to point to the VMware OSP URL for RHEL5 64-bit.
rm –f /etc/yum.repos.d/vmware-tools.repo
cat > /etc/yum.repos.d/vmware-tools.repo <<\EOF2
[vmware-tools]
name=VMware Tools
baseurl= http://packages.vmware.com/tools/esx/4.1u1/rhel5/x86_64
enabled=1
gpgcheck=1
EOF2
-
I have attempted to use the VMware Packaging Public Keys from the VMware OSP repository URL but this does not work, anyone care to enlighten me in the comments below?
I tried this:
# Import the VMware Packaging Public Keys
rpm –import http://packages.vmware.com/tools/keys/VMWARE-PACKAGING-GPG-DSA-KEY.pub
rpm –import http://packages.vmware.com/tools/keys/VMWARE-PACKAGING-GPG-RSA-KEY.pub
- I also attempted to use the VMware OSP URL directly in the vmware-tools.repo file without luck either. If you can get this to work then please comment below and I’ll update the post.
You should now be able to deploy a guest Linux VM running on vSphere ESXi 4.1 through PXEBOOT and Kickstart and have the VM automatically install VMware Tools. Plus, all future updates of VMware Tools can just be done by invoking a yum install -y vmware-tools.