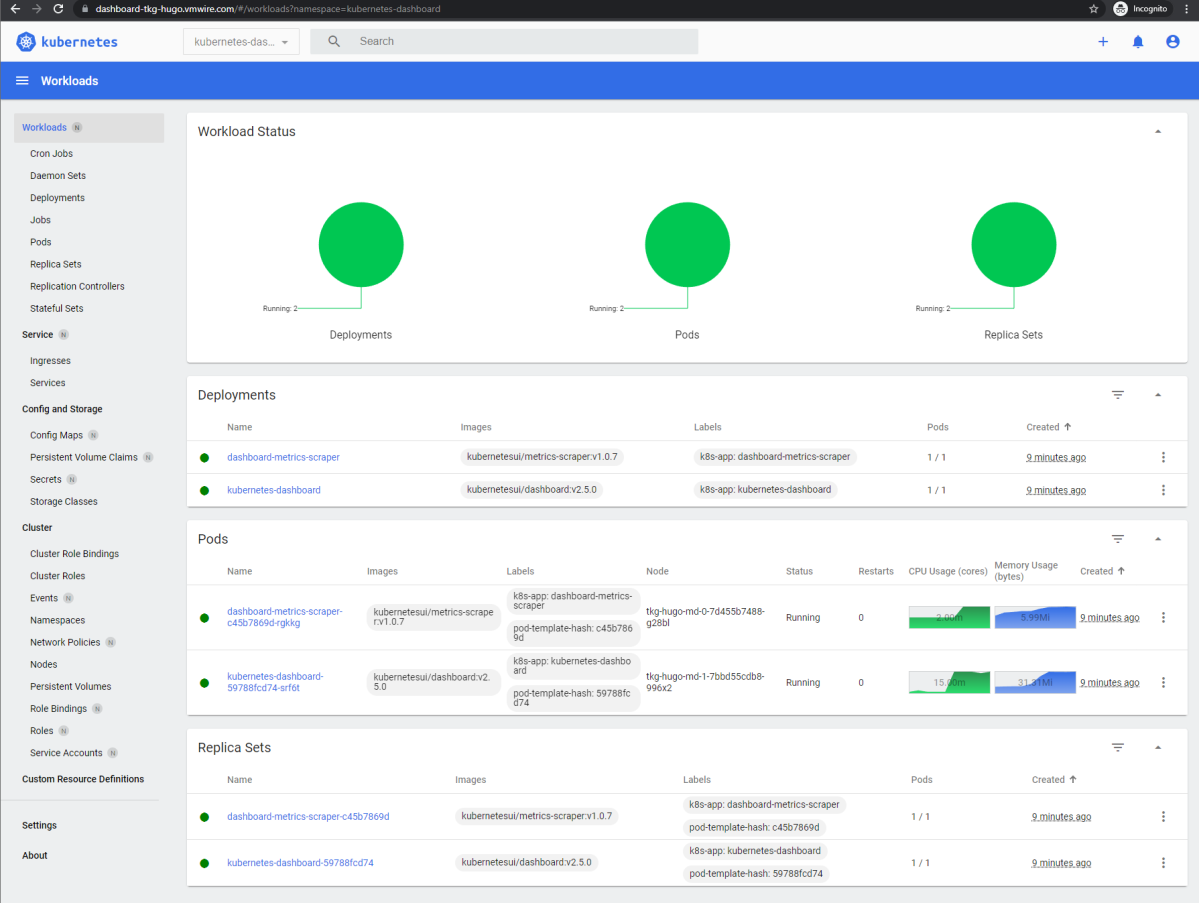
In a previous post I went through how to deploy the Kubernetes Dashboard into a Kubernetes cluster with default settings, running with a self-signed certificate. This post covers how to update the configuration to use a signed certificate. I’m a fan of Let’s Encrypt so will be using a signed wildcard certificate from Let’s Encrypt for this post.
You can prepare Let’s Encrypt by referring to a previous post here.
Step 1. Create a new namespace
Create a new namespace for Kubernetes Dashboard
kubectl create ns kubernetes-dashboardStep 2. Upload certificates
Upload your certificate and private key to $HOME/certs in pem format. Let’s Encrypt just happens to issue certificates in pem format with the following names:
cert.pem and privkey.pem
All we need to do is to rename these to:
tls.crt and tls.key
And then upload them to $HOME/certs where our kubectl tool is installed.
Step 3. Create secret
Create the secret for the custom certificate by running this command.
kubectl create secret generic kubernetes-dashboard-certs --from-file=$HOME/certs -n kubernetes-dashboardYou can check that that secret is ready by issuing the following command:
kubectl describe secret -n kubernetes-dashboard kubernetes-dashboard-certs
Name:         kubernetes-dashboard-certs
Namespace:    kubernetes-dashboard
Labels:       <none>
Annotations:  <none>

Type:  Opaque

Data
====
tls.key:  1705 bytes
tls.crt:  1835 bytes
Step 4. Edit the deployment
We need to download the deployment yaml and then edit it to ensure that it uses the Let’s Encrypt signed certificates.
Run the following command to download the Kubernetes Dashboard deployment yaml file
wget https://raw.githubusercontent.com/kubernetes/dashboard/v2.5.0/aio/deploy/recommended.yamlNow edit it by using your favorite editor and add in the following two lines
        - --tls-cert-file=/tls.crt
        - --tls-key-file=/tls.key
under the following
Deployment – kubernetes-dashboard – spec.template.spec.containers.args
kind: Deployment
apiVersion: apps/v1
metadata:
  labels:
    k8s-app: kubernetes-dashboard
  name: kubernetes-dashboard
  namespace: kubernetes-dashboard
spec:
  replicas: 1
  revisionHistoryLimit: 10
  selector:
    matchLabels:
      k8s-app: kubernetes-dashboard
  template:
    metadata:
      labels:
        k8s-app: kubernetes-dashboard
    spec:
      securityContext:
        seccompProfile:
          type: RuntimeDefault
      containers:
        - name: kubernetes-dashboard
          image: kubernetesui/dashboard:v2.5.0
          imagePullPolicy: Always
          ports:
            - containerPort: 8443
              protocol: TCP
          args:
            - --tls-cert-file=/tls.crt
            - --tls-key-file=/tls.key
            - --auto-generate-certificates
Step 5. Expose Kubernetes Dashboard using a load balancer
Let’s expose the app using a load balancer, I’m using NSX ALB (Avi) but the code below can be used with any load balancer.
Continue editing the recommended.yaml file with the following contents from line 32:
kind: Service
apiVersion: v1
metadata:
  labels:
    k8s-app: kubernetes-dashboard
  name: kubernetes-dashboard
  namespace: kubernetes-dashboard
spec:
  ports:
    - port: 443
      targetPort: 8443
  selector:
    k8s-app: kubernetes-dashboard
  type: LoadBalancer
Save changes to the file. Now we’re ready to deploy.
If you want to use the Avi Services API (K8s Gateway API). Then add labels to the service, like this. This will ensure that the service uses the Avi gateway.
kind: Service
apiVersion: v1
metadata:
  labels:
    k8s-app: kubernetes-dashboard
    ako.vmware.com/gateway-name: gateway-tkg-workload-vip
    ako.vmware.com/gateway-namespace: default
  name: kubernetes-dashboard
  namespace: kubernetes-dashboard
spec:
  ports:
    - port: 443
      targetPort: 8443
  selector:
    k8s-app: kubernetes-dashboard
  type: LoadBalancer
Step 6. Deploy Kubernetes Dashboard
Deploy the app with the following command:
kubectl apply -f recommended.yamlStep 7. Get full access to the cluster for Kubernetes Dashboard
To get full cluster access to the kubernetes-dashboard account run the following
kubectl create clusterrolebinding add-on-cluster-admin --clusterrole=cluster-admin --serviceaccount=kubernetes-dashboard:kubernetes-dashboardStep 8. Obtain the login token
To login we’ll need to obtain a token with the following code:
kubectl describe -n kubernetes-dashboard secret kubernetes-dashboard-tokenCopy just the token and paste it into the browser to login. Enjoy a secure connection to Kubernetes Dashboard. Enjoy!


3 thoughts on “Running Kubernetes Dashboard with signed certificates”