Intro
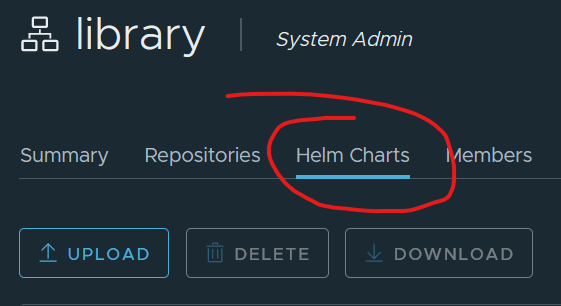
The Harbor registry that comes shipped with TKG 1.5.1 uses Tanzu Packages to deploy Harbor into a TKG cluster. This version of Harbor does not support Helm Charts using ChartMuseum. VMware dropped support for ChartMuseum in TKG and are adopting OCI registries instead. This post describes how to deploy the upstream Harbor distribution that supports ChartMuseum for a helm repository. Follow this other post here to deploy Harbor with Tanzu Packages (Kapp) with support for OCI.
The example below uses the following components:
- TKG 1.5.1
- AKO 1.6.1
- Contour 1.18.2
- Helm 3.8.0
Use the previous post to deploy the per-requisites.
Step 1 – Download the harbor helm chart
helm repo add harbor https://helm.goharbor.io
helm fetch harbor/harbor --untar
Step 2 – Edit the values.yaml file
You only need to change the following lines.
| Line Number | Specification |
| 5 | loadBalancer or ingress (contour) |
| 13 | use TLS certificate |
| 30 & 35 | secret name (created in Step 3.) |
| 38 & 39 | FQDN of your harbor and notary DNS A records |
| 215, 221 etc | A storage class if you don’t have a default storage class. Leave blank to use your default storage class. |
| 355 | admin password |
expose:
  # Set the way how to expose the service. Set the type as "ingress",
  # "clusterIP", "nodePort" or "loadBalancer" and fill the information
  # in the corresponding section
  type: ingress
  tls:
    # Enable the tls or not.
    # Delete the "ssl-redirect" annotations in "expose.ingress.annotations" when TLS is disabled and "expose.type" is "ingress"
    # Note: if the "expose.type" is "ingress" and the tls
    # is disabled, the port must be included in the command when pull/push
    # images. Refer to https://github.com/goharbor/harbor/issues/5291
    # for the detail.
    enabled: true
    # The source of the tls certificate. Set it as "auto", "secret"
    # or "none" and fill the information in the corresponding section
    # 1) auto: generate the tls certificate automatically
    # 2) secret: read the tls certificate from the specified secret.
    # The tls certificate can be generated manually or by cert manager
    # 3) none: configure no tls certificate for the ingress. If the default
    # tls certificate is configured in the ingress controller, choose this option
    certSource: secret
    auto:
      # The common name used to generate the certificate, it's necessary
      # when the type isn't "ingress"
      commonName: ""
    secret:
      # The name of secret which contains keys named:
      # "tls.crt" - the certificate
      # "tls.key" - the private key
      secretName: "harbor-cert"
      # The name of secret which contains keys named:
      # "tls.crt" - the certificate
      # "tls.key" - the private key
      # Only needed when the "expose.type" is "ingress".
      notarySecretName: "harbor-cert"
  ingress:
    hosts:
      core: harbor.vmwire.com
      notary: notary.harbor.vmwire.com

---snipped---
Step 3 – Create a TLS secret for ingress
Copy the tls.crt and tls.key files in pem format to $HOME/certs/
# Create a new namespace for harbor
k create ns harbor

# Create a TLS secret with the contents of tls.key and tls.crt in the harbor namespace
kubectl create secret tls harbor-cert --key $HOME/certs/tls.key --cert $HOME/certs/tls.crt -n harbor
Step 4 – Install Harbor
Ensure you’re in the directory that you ran Step 2 in.
helm install harbor . -n harborMonitor deployment with
kubectl get po -n harborLog in
Use admin and the password you set on line 355 of the values.yaml file. The default password is Harbor12345.

